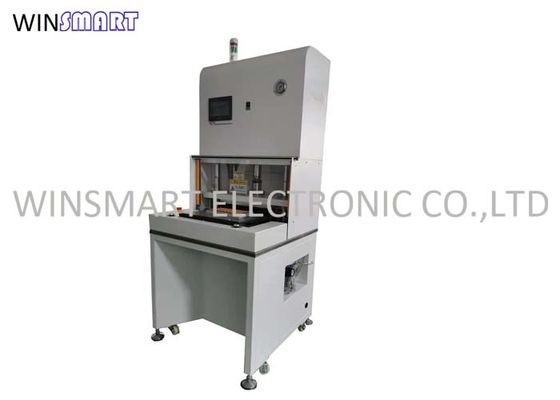
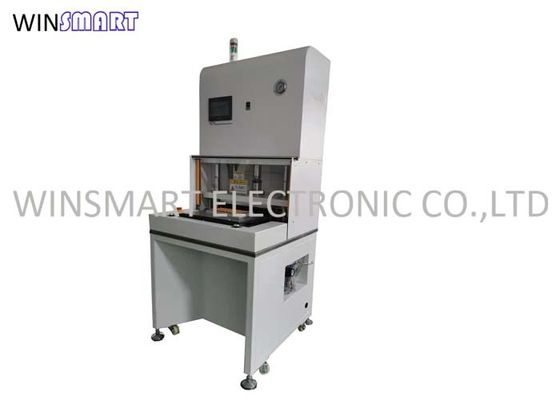
Product Details:
|
PCB Material: | FR4, MCPCB | Voltage: | 220V |
---|---|---|---|
After-sales Service Provided: | Engineers Available To Service Machinery Overseas | Power(w): | 500W |
Certificate: | CE | Name: | Die Punching Machine |
Highlight: | Cylinder Driven Die Punching Machine,PCB Separator Die Punching Machine,3A PCB Punching Machine |
Environmental Cylinder Driven Die Punching Machine PCB Separator
Die Punching Machine Description:
Punching is a process where singe PCBs are punched out of the panel through the use of specia fixture. It is a two-part fixture, with sharp blades on one part and supports on the other. The production capacity of sunch a system is high, but fixtures are quite expensive and require regular sharpening.
Die Punching Machine Features:
1. Depaneling PCB/FPC by means of punching dies, to avoid micro-cracks caused by manual.
2. Die toolings is changeable
3. Easy set up of punching dies
4. Loading and unloading PCBs is convenient
5. Easy operation, has safe protection system
6. Air cylinder driven, environmental protection
7. High efficiency, cycle cutting time controls within 15 seconds, suitable for high volume PCBs
Die Punching Machine Specification:
Working area | 460*320mm |
Working pressure | 0.45-0.7Mpa |
Cutting precision | ±0.05mm |
Cycle time | 7-15 seconds |
Output | 8T |
PCB/FPC thickness | 0.08-3.5MM |
PCB/FPC material | FPC, FR1, FR4, CEM-1, CEM-3, MCPCB |
Cutting mode | Punching |
Punch fixture | Die tooling(mold) |
Working Property |
LCD display, Automatically records the number of processed products, automatic punching |
Transmission port | International standard |
Operation Language | English |
Stroke | 50MM |
Mold height | 170MM |
Power | 380/220V |
Fuse | 3A |
Machine dimension | 820x740x1750mm |
Machine weight | 680kgs |
PCB Punching Machine Die Tooling Installation Steps:
1. Remove the security door
2. Place the two pin holes on the bottom plate of the lower mold on the two hooks.
3. Feed the upper mold into the drawer(see below picture), and the mold edge and the upper plate are overlapped.
4. The machine switches to manual mode. Press the “front and back” button to feed the lower mold into the machine.
5. Disconnect the air source, the upper and lower cylinders will slowly fall, and the guide post of the upper mold will extend into the lower mold, and the two will slowly close together.
6. After the upper and lower molds are closed, manually tighten the thumb screws as shown in the figure. Make sure the upper mold cannot move. After tightening, the air source is connected, the cylinder rises, the upper mold is separated, and the air source is disconnected again to check whether the upper mold and the lower mold can be closed. Repeat the operation once or twice to ensure that the upper and lower dies are smoothly closed before proceeding to the next step.
Contact Person: Ms. Amy
Tel: +86-752-6891906